
TL;DR:
Enable SSO in Settings / Company Settings → Single Sign On (SSO) → Add Provider. Select the identity provider, complete the prompts, and save. Owners/Admins only. For Okta/Azure/Google Workspace, follow provider‑specific guides. For other IdPs, contact support to enable.
Prerequisites
Supported Identity Providers
Configure SSO in Time Doctor
- Go to Settings / Company Settings.
-
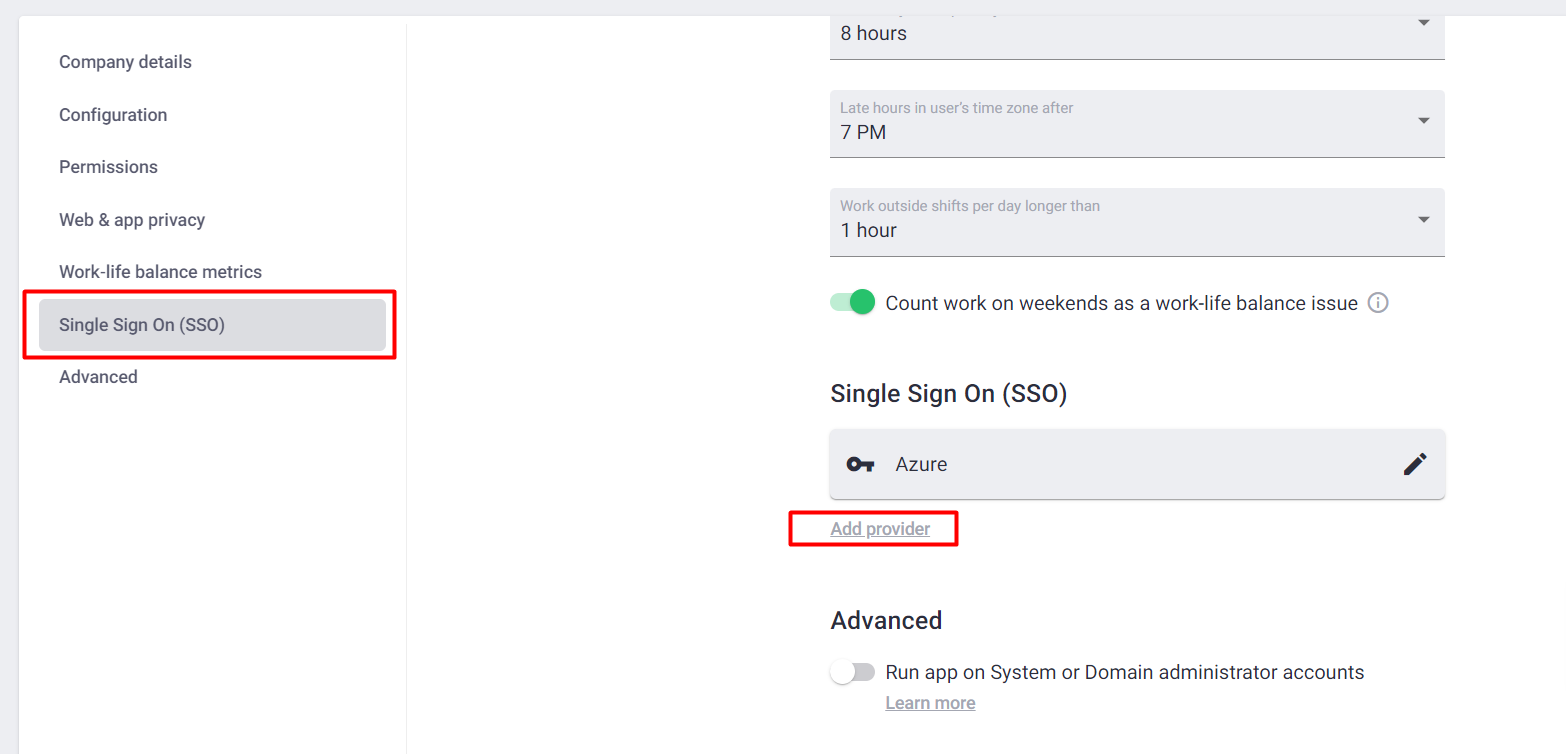
Scroll to Single Sign On (SSO) and select Add Provider.
-
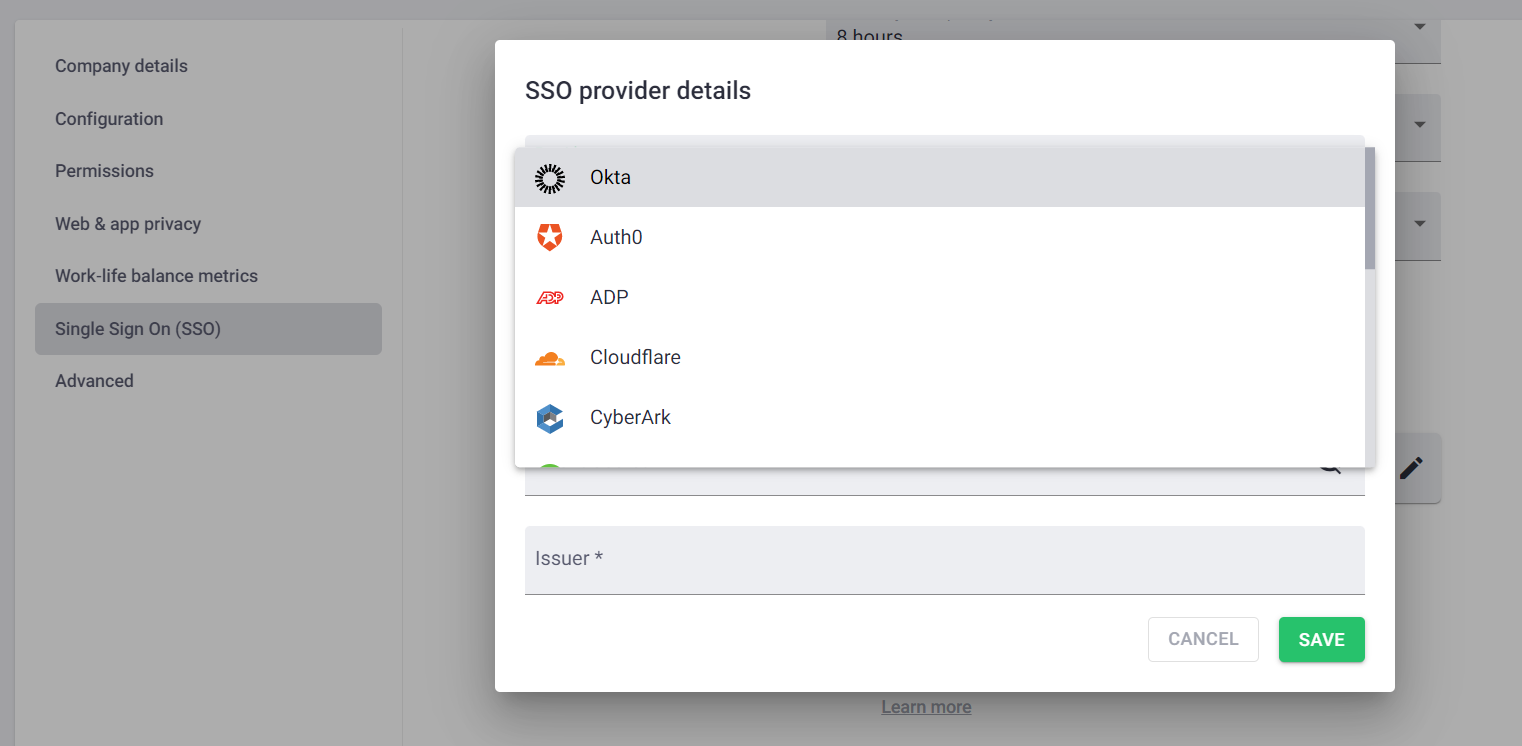
Choose the identity provider from the list.
-
Select Save.
Tip: Adding a domain is optional for some providers and controls who can find and join the company using SSO.
Provider‑Specific Guides
-
Okta (OIDC): Follow Configure Okta OIDC for Time Doctor.
-
Azure AD (Entra ID): Follow Configure Azure SSO for Time Doctor.
-
Google Workspace (SAML 2.0): Follow How to Configure Google Workspace SSO for Time Doctor.
Add New Users After Enabling SSO
-
Follow How to Add New Users Who Will Sign In With SSO to provision users (API, domain‑based join, or assisted options).
Should there be any inconsistencies or concerns regarding the article, contact support@timedoctor.com for prompt assistance.