
Note:
- Available in Beta and only applies to interactive tracking.
- Works with the latest Chrome browser on Windows, Mac, Ubuntu, and Chrome OS
TL;DR:
Install the Time Doctor browser app from the Chrome Web Store, log in with Google SSO or email credentials, and start tracking time in task, no task, or automated mode.
Install the Browser App
- Open the Chrome Web Store and select Add to Chrome.

- In the confirmation pop‑up, select Add extension.

- After installation, select the app icon in Chrome to open the login screen.
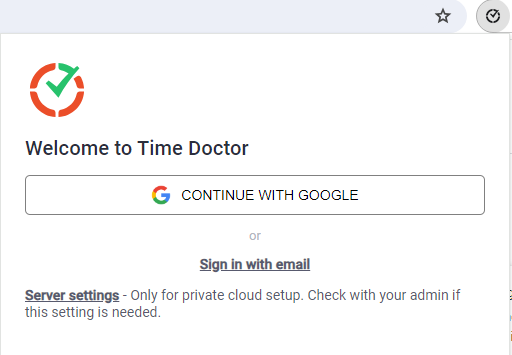
Sign In
Options:
- Continue with Google – Requires Google SSO enabled for the company account.
- Google Single Sign-On - Once signed in, Time Doctor will be able to auto-detect which company account the email is linked to and register it to that company account.
- Sign in with a Gmail account: Account owner/admin needs to manually register (i.e. invite) the email address to the company account before it can log in using a Gmail account.
- Enable Google profile sync (see Google documentation).
- Email and password – Use Time Doctor credentials.
Upon successful login, the app detects the enabled tracking mode and redirects accordingly.
Tracking Modes
Task or No Task Mode
- A pop‑up displays a setup URL. Open the URL and select Install.


- Select Install again from the confirmation pop‑up.

- Begin tracking time.
Automated Tracking Mode
- Enable Browser automated mode from the Users page.
- The app tracks time automatically without start/stop controls.
Tracking Modes (Explained)
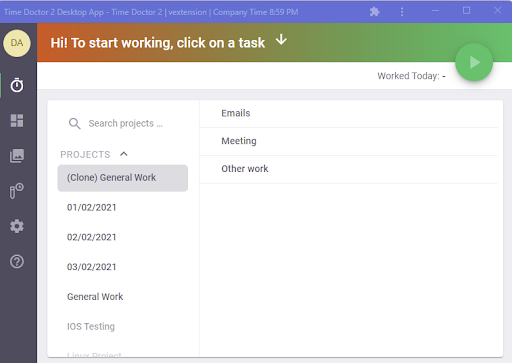
Time Doctor Browser Application – Task Version
Enable the Use projects and tasks setting under Company Settings to track time by projects and tasks.
- Admins or managers can create and assign tasks and projects to users.
- The assigned tasks and projects appear in the browser app.
- Start and pause tracking directly from the app.
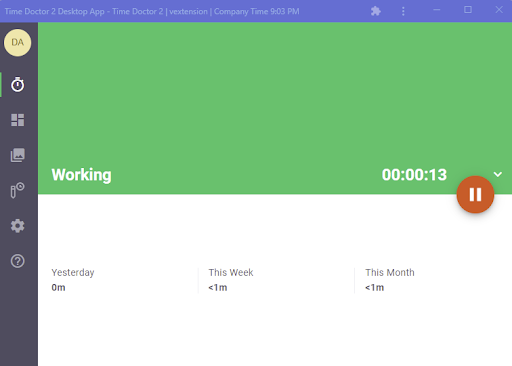
Time Doctor Browser Application – No Task Version
When the Use projects and tasks setting is disabled in the Settings / Company Settings page, track total time without task assignments.
- Start and stop tracking using the play and pause buttons in the app.
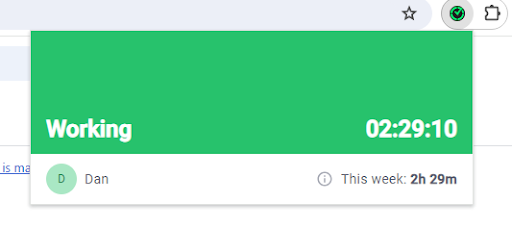
Time Doctor Browser Application – Automated Tracking Version (Extension Only)
Enable the Browser automated mode setting from the Settings / Users page to run in automated mode.
- Time tracking runs automatically while work is active in Chrome.
- Manual start and pause controls are not available.
- Tracking stops only when Chrome is closed or the extension is uninstalled.

Note:
- Contact support@timedoctor.com if access to Browser automated mode is not available.
- On Chrome OS devices, sign in using the same email address registered in the Time Doctor account to enable automated tracking.
Integration with Third‑Party Apps
- Time Doctor integrates with 60+ third‑party apps through the browser extension.
- Enable Integration settings from the Integrations page.
- View the full supported apps list and video tutorial in the Time Doctor documentation.

Private Cloud Accounts
- On the login screen, select Server settings.
- Enter the private cloud domain (e.g., xyz.timedoctor.com).
- Select Save.
- Log in to connect to the private cloud account.
Limitations
- Tracks only in‑browser activity.
- No dual‑monitor screenshots or screen recording.
- Chrome extension third‑party integration not supported in no task or automated modes.
- No activity bar or non‑web “don’t time out on calls” support.
- No identical screenshot detection or full application monitoring.
- Certain browser pages (e.g., chrome://settings) are not tracked.
- Internet connectivity reports are not supported.
Should there be any inconsistencies or concerns regarding the article, contact support@timedoctor.com for prompt assistance.